This ain’t your grandma’s beef ramen. Or should I say, this ain’t the ramen you ate as a poor college student! This is Gourmet-Knock-Your-Socks-Off-Beef-Ramen! Mainly, because I use a Filet Mignon which MAKES the dish! I get a large filet. So, when I slice it …
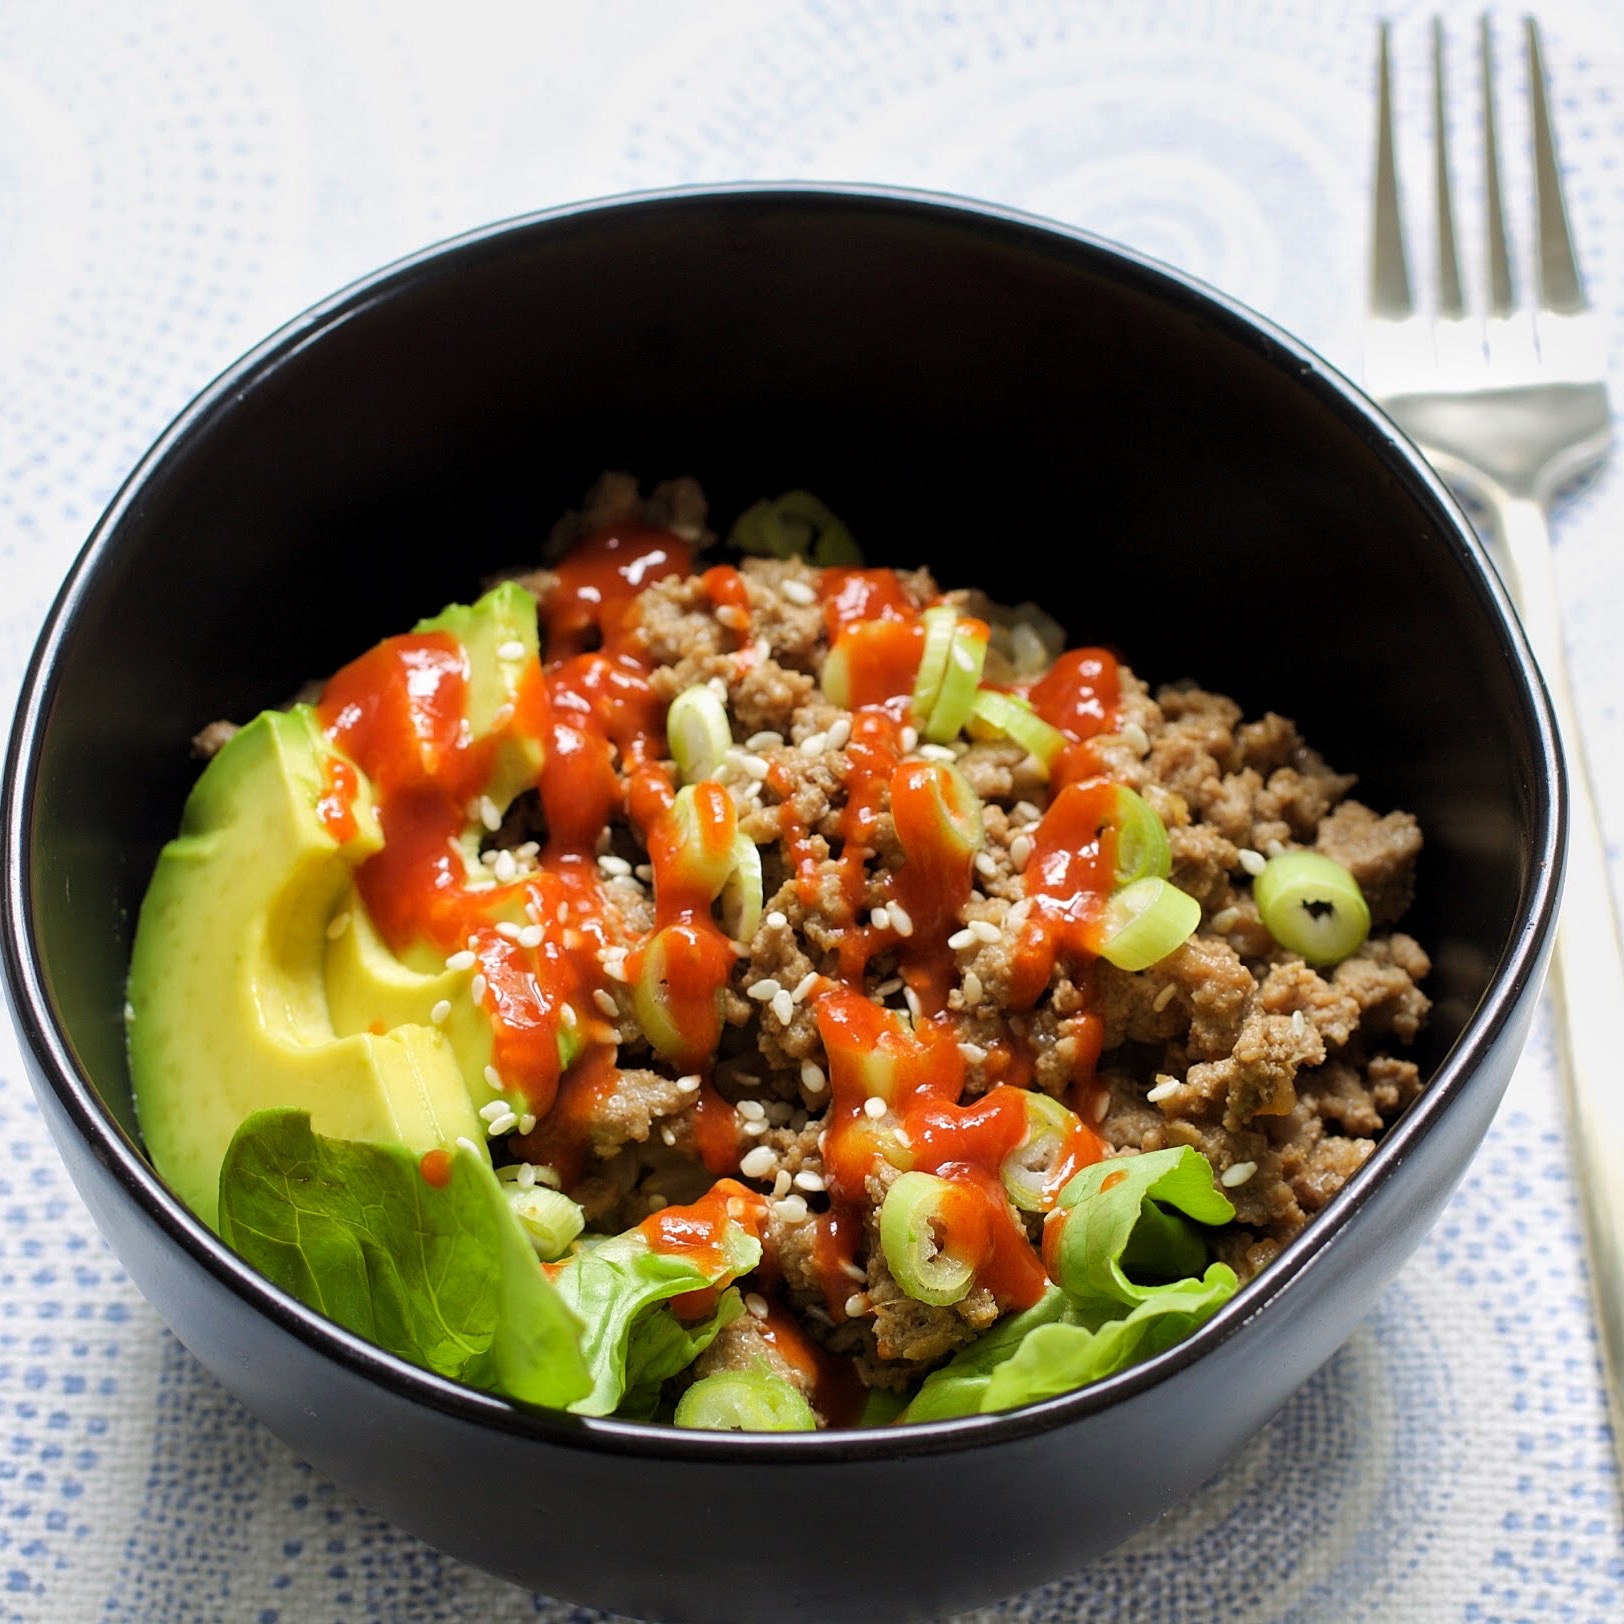
I just can’t express with words how good this Korean Bowl is! So, I’ll use pictures. I know it just sounds like rice and meat, but it’s so much more! The meat is cooked to perfection in a salty and flavorful soy sauce and served …
Summer has hit here in Charleston! It’s in the 80s and humid! I guess I should be thankful that it’s not 95 degrees yet. So, needless to say, we’ve been in the pool on the daily!
This past weekend, we had such a great time celebrating Memorial Day and just having loads of family time (as if we really had another option HAHA). We lounged in bed, swam in the pool, went downtown to our favorite coffee shop, and grilled out every afternoon. It was magical, to say the least!
I love long weekends where we get to shut everything off and recharge. It’s good for the soul. Don’t you agree?
While I had some time on my hands, I did some recipe testing, because that’s also good for the soul. I came up with the most delicious and refreshing Grapefruit Frosé! It’s tart, crisp, and perfect on a hot afternoon. You could always add some agave nectar, but I love the tartness of the grapefruit juice alone! So here’s what I did…
Grapefruit Frosé Recipe
Measure out 1/2 cup of fresh squeezed grapefruit juice (1 large grapefruit) and 1/2 cup of rosé (or dry white wine) into a glass measuring cup. Next, pour that into ice cube trays and freeze them completely.
Once the cubes are frozen, pop them into a blender with 2 oz store bought grapefruit juice and 1 oz vodka (if you’re feelin’ frisky). Blend until slushy and garnish with mint (because it’s pretty)!
This is absolutely delicious! It’s great for entertaining and also just as great to sip by yourself on a hot summer day!
The Perfect Loaded Bunless Burger With All the Fixin’s and All the Flavor! It’s Memorial Day Weekend! We are so thankful for the men and women who have gone before us to give us the freedom we so often take for granted! This also marks …
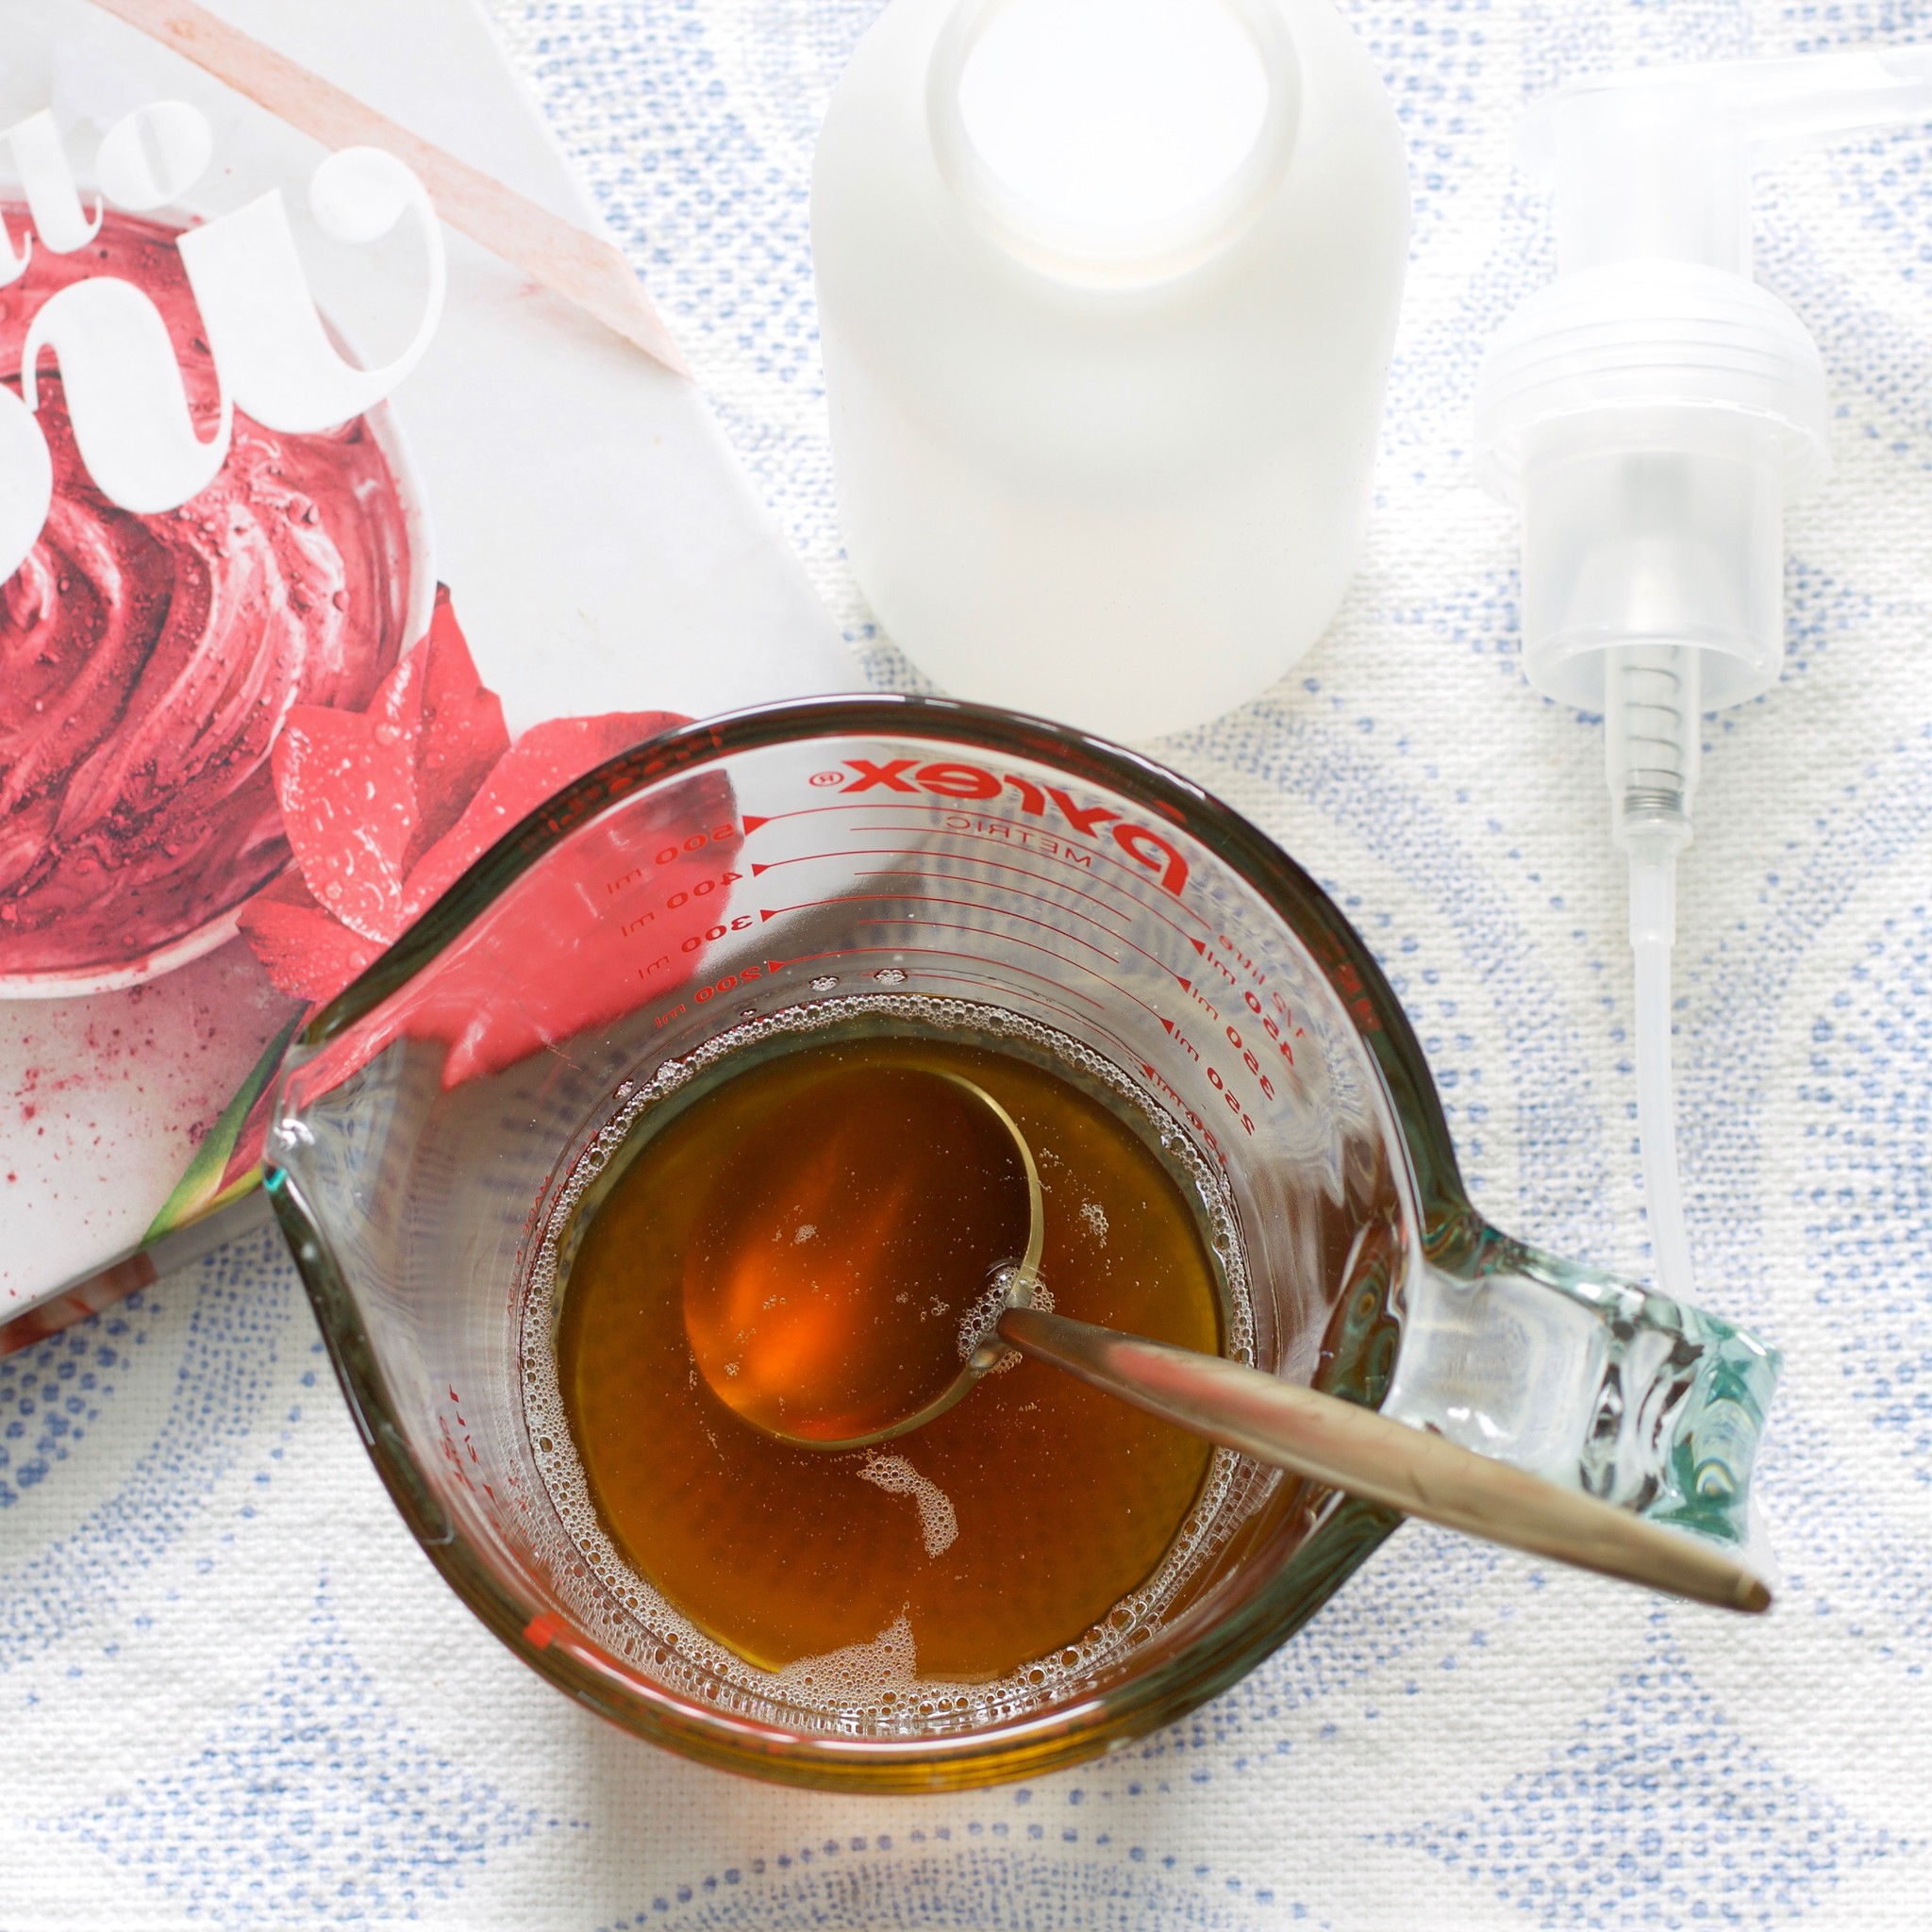
Homemade Foaming Honey Face Cleanser! Give This Recipe A Try. You’ll Never Buy Store Bought Face Wash Again! Ok, ok. You may think I’ve lost my marbles making my own face wash. But what you put on your body is just as important as what …
The Best Cashew Creamer You’ll Ever Taste & The Perfect Dairy Free Creamer For Your Coffee!
As a self-proclaimed coffee addict, I feel like I am somewhat of an authority on this topic. Dairy has always bothered me, but the weak and watery dairy free creamers I buy on the shelf just don’t cut it for me. And, trust me, I’ve tried every.single.one! Not to mention, they’re $5 for a creamer that will last me one day. So, to me, a stomach ache after my morning cup o’ joe seemed to be worth it. Until now…
Recently, I took the Everylywell Food Sensitivity Test and discovered that I am, in fact, sensitive to dairy (original post HERE). Once I saw my sensitivity in black and white, I decided I’d give dairy free a go for 30 days and see how I feel. A week in, and I am already noticing a HUGE difference!
My biggest form of dairy intake has always been my coffee, iced lattes, etc. I’m not a big cereal, or drink-a-glass-of-milk person. So I needed a substitute because, well I’m an addict, and also coffee brings me an indescribable joy throughout the day. I fall asleep looking forward to my morning coffee. I also look forward to my afternoon coffee concoctions while the kids are in quiet time more tan anything else in my day.
Alright, before you call a therapist, I already admitted I’m addicted. Admission is the first step, right? All that to say, if there is a worthy non-dairy creamer out there, this is the only one.
On top of it being creamy and delicious, it’s super easy! You only need a few tools. A nutmilk bag strainer and a high-speed blender. I use a Vitamix but you can use any high speed blender. So, without further ado, this is how you make it!
Soak Cashews for 2-3 Hours
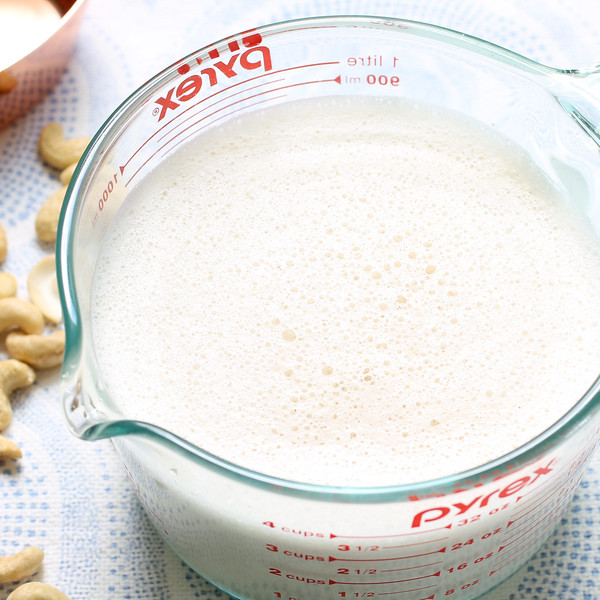
Measure out 1 cup of raw cashews and put in a 4 cup pyrex pitcher or bowl. Cover with water and soak for 2-3 hours. If you’re soaking overnight, place them in the fridge to soak.
Drain and Rinse Cashews
Drain the cashews and rinse with cold water. Place the nuts in your blender.
Blend
In your blender, top the cashews with 2.5 cups of filtered water, a pinch of salt, 1/4 tsp cinnamon, and 1/4 tsp vanilla extract. Cover and blend on high for 1 full minute.
Strain
Line a pitcher (I use a 4 cup pyrex pitcher) with your nutmilk strainer bag and pour the blended milk through the bag to ensure no nut pieces are in the milk. Store in an airtight container in the fridge.
And there you have your OWN creamy, dreamy, cashew creamer! The stomach aches aren’t worth it. I promise!
The Best Cashew Creamer
A creamy, dreamy, dairy free creamer that is the perfect compliment to your cup o' joe!
Measure out 1 cup of cashews into a 4 cup pyrex measuring pitcher (or something similar).
Cover with 3 cups filtered water and set aside to soak for 2-3 hours. If soaking over night, place in the fridge.
Strain cashews and rinse with cold water. Place nuts in blender.
Add 2.5 cups filtered water, pinch of salt, cinnamon, and vanilla to the blender.
Cover and blend on high for 1 full minute.
Line the 4 cup pyrex pitcher (or similar) with the nutmilk strainer bag (linked in post). Pour the milk through the strainer and into your pitcher to assure no nut pieces remain.
Transfer milk into an airtight container and store in the fridge up to a week.
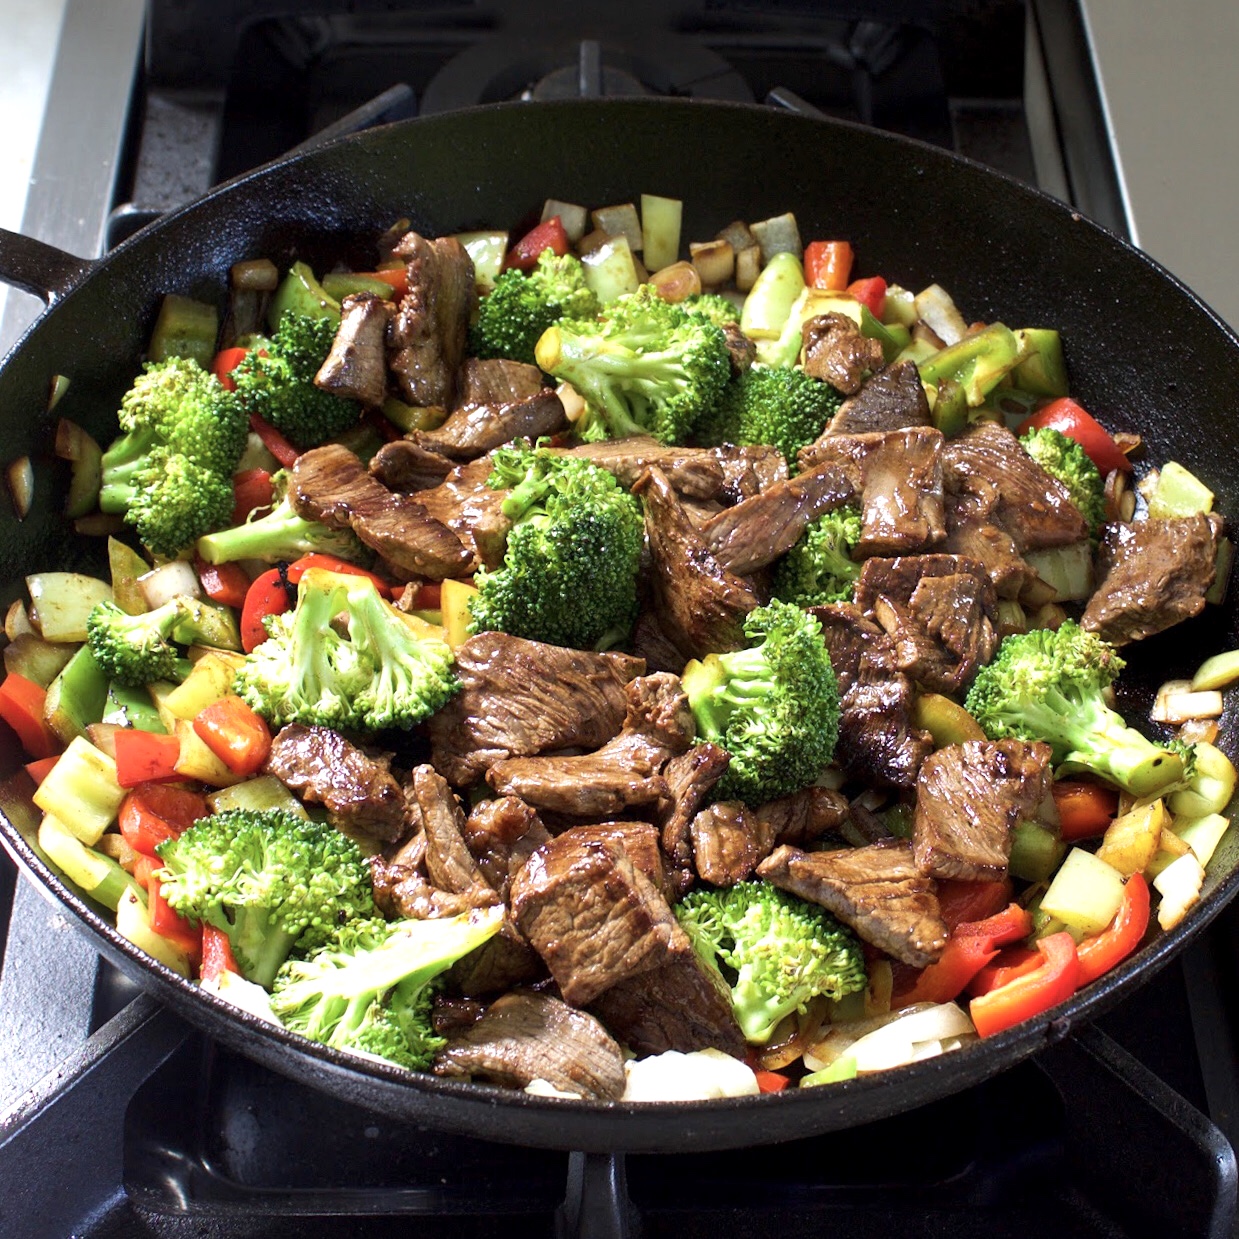
Check Out My Whole 30 Inspired Menu For The Week. No Lack Of Flavor, Just Happy Tummies! As I mentioned the other day, I had a recent diet discovery (original post HERE)! A Food Sensitivity Test impulse buy, and a few drops of blood sent …
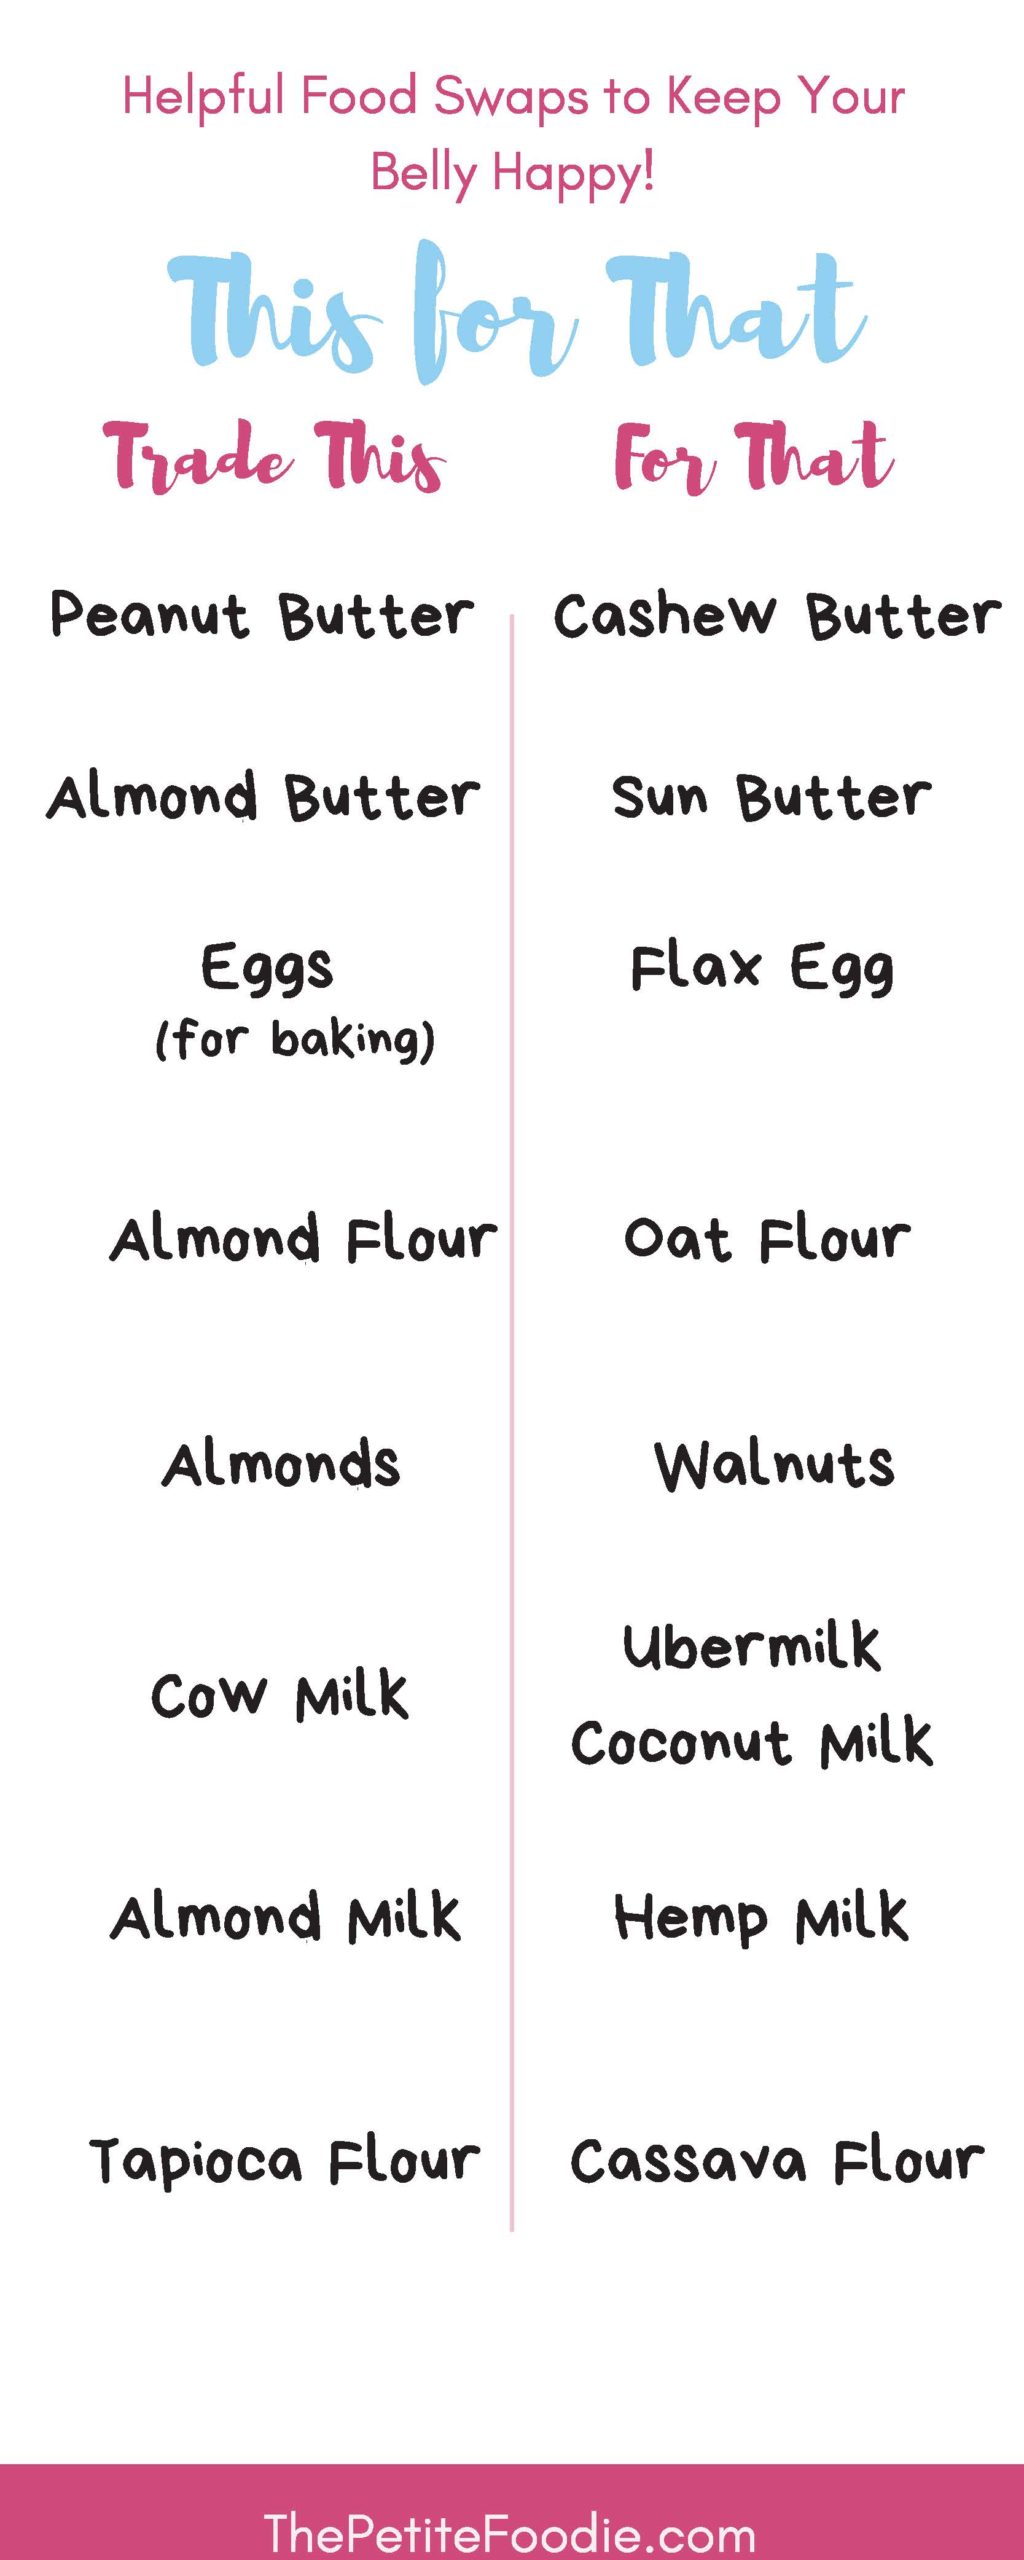
Read About My Recent Food Sensitivity Discovery & My “Trade This for That” Cheat Sheet! Well hello, Friends! As I’m sure you’ve experienced, Instagram has a sneaky way of putting ads in front of you that are so exactly what you need, that you impulse …
I hope you had a wonderful Mother’s Day, and that you felt very special if you are a momma! It’s so easy to feel depleted as a mom. We work, we care for, we clean, we support. Yet, rarely, do we allow the time or space to be renewed or poured into. For the record, I believe that to be true for everyone, not just mommas. In my upcoming newsletter, I have a Quiet Time Guide that I created with that exact idea in mind. To avoid burnout, we have to take the time to be renewed, ourselves. So, I pray that this past weekend was a time of renewal for you! And if you don’t get my emails, be sure to sign up!
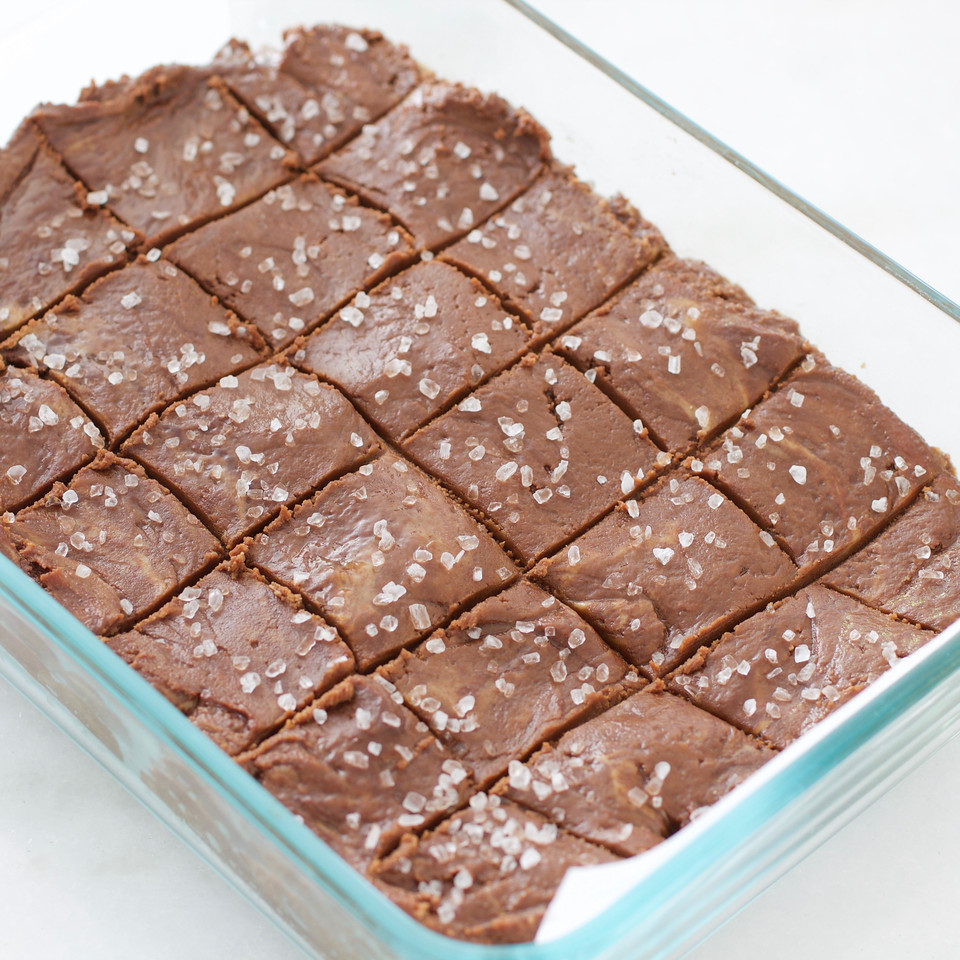
Ok, back to the food! I’m finally getting around to sharing my chocolate freezer fudge recipe! I’ve been making this for YEARS! I always try to have it on hand. It’s the perfect bite to satisfy my sweet tooth, especially at night! This only has a few ingredients and is super easy to make.
Start by melting coconut oil in a large bowl. Then stir in the maple syrup, vanilla, and almond butter until combined. Add in the cacao powder and stir to combine.
Dump the chocolatey goodness into a parchment lined tupperware, about 4″ x 6″, and smooth into an even layer. Sprinkle with sea salt and pop into the freezer for an hour to harden. Then, cut the fudge into squares and keep in the freezer (for a harder fudge) or the fridge (for a softer chewy fudge). Comment and let me know when you make it, and how much you love it!
A compilation of 7 “Clean Eats” meals. Seven meals with all of the ingredients you’ll need in one downloadable grocery list. I’m on a clean eats kick, and I’m loving it! Our week of Tex-Mex cooking has me wanting all the avocado and grilled things! …