Month: June 2020

The Best Sloppy Joes

The Best Sloppy Joes

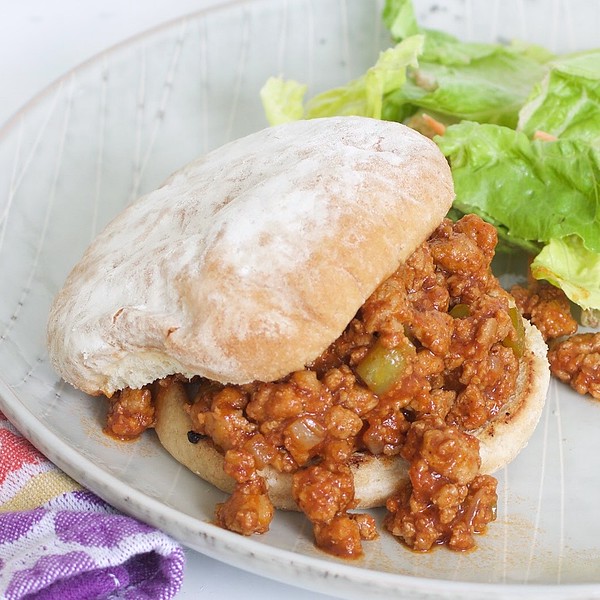
Sloppy Joes are one of those dinners that are so incredibly easy and perfect for a week night! And these are the best sloppy joes I’ve had to date! The kids love them, and this version has some healthy tweaks that make them guilt-free! As 

Gluten Free Coconut Chicken Tenders

Gluten Free Coconut Chicken Tenders

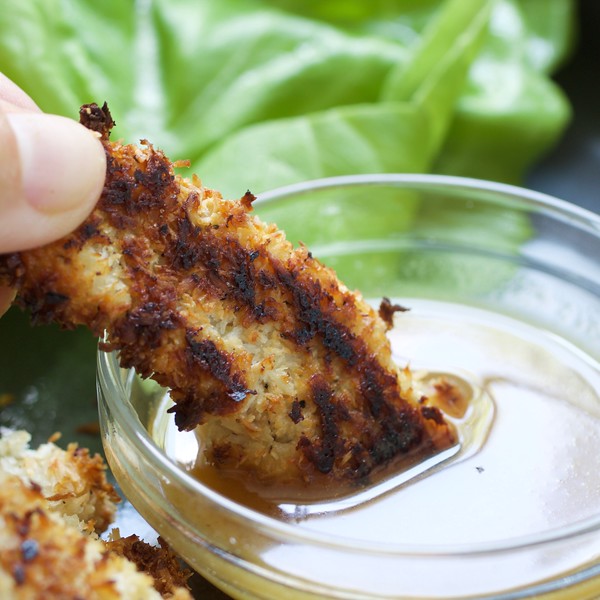
Sometimes I’m just so over thinking of creative ways to cook chicken! Anyone else feel that? My kids could literally each frozen chicken tenders every day of their lives. BUT, I like to save those for when I don’t have time to cook or when 

Chicken Fried Chicken

Chicken Fried Chicken

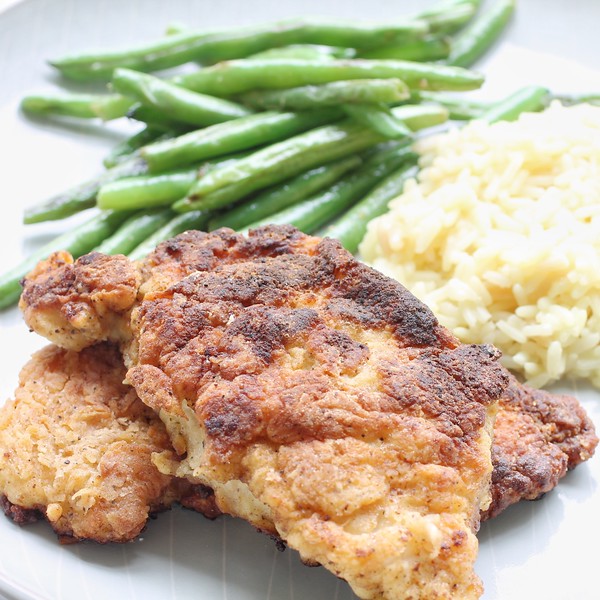
I know, I know. You thought I only cooked healthy foods, right? Well, I do typically. But I really had a hankering for fried chicken the other night. I had some defrosted chicken breasts in the fridge and thought, why not whip some up! LAWD ALMIGHTY did it come out grrrreat!

I actually used oat milk instead of regular milk because milk upsets my stomach. And, it was delicious! You would never tell the difference. If anything, it added flavor! Of course, you could use any milk you’d like!

It could not be easier. Start with 2 large chicken breasts, slice them in half to make them thinner and into smaller pieces (about 8 total). Then lay them out and cover in saran and pound them out, with a meat mallet, to about 1/4 inch thick.

Then I combine oat milk with an egg and whisk it up in one bowl and flour with about a tsp each of seasoned salt & pepper in another.

I dip the chicken in the milk, then flour, then milk again, and flour one more time.

Heat vegetable oil in a cast iron skillet and cook on both sides until completely cooked through.

Place the fried chicken on a sheet pan and place in a 350*F oven while you cook up the rest.

Then serve it up with some green beans and brown rice. YUMMMM

Chicken Fried Chicken

Servings 4

Ingredients
  

  • 2 large boneless skinless chicken breasts
  • 1 cup oat milk *or preferred milk
  • 2 cups all purpose flour
  • 1 tsp seasoned salt
  • 1 tsp black pepper
  • 1/4 tsp cayenne *optional
  • vegetable oil for frying

Instructions
 

  • Slice the chicken breasts into half to make them thinner. Then into smaller sections to make about 6-8 pieces.
  • Cover with saran wrap and pound them out with a meat mallet to about 1/4 inch thick.
  • Dip each chicken breast into the milk mixture to coat, then seasoned flour turning to coat, then milk, and flour once more.
  • Place all chicken on a separate platter to prepare for frying.
  • Heat oil in a large skillet over medium heat about 1/4 inch high. Drop in a few sprinkles of flour to see if it sizzles to make sure the oil is ready. Cook chicken, three pieces at a time, until edges start to look golden brown. Then flip and cook on the other side. About 3 minutes each side, or until brown and cooked through.
  • Remove and keep warm on a sheetpan in the oven heated to 350*F while you cook the rest.
Tried this recipe?Let us know how it was!
World Renowned Gluten Free Banana Bread

World Renowned Gluten Free Banana Bread

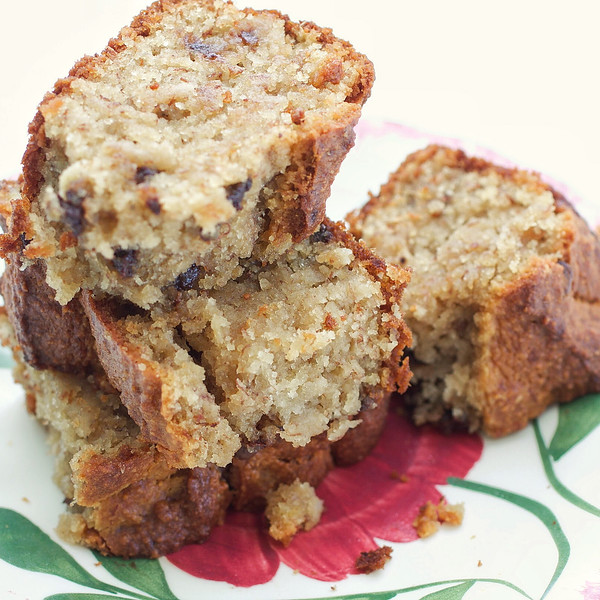
Okay, so maybe it’s only renowned in my circle of friends BUT, whenever I make this for people they become obsessed. I posted this video on how to make my world renowned gluten free banana bread on Instagram and people have messaged me saying how 

The Ultimate BLT

The Ultimate BLT

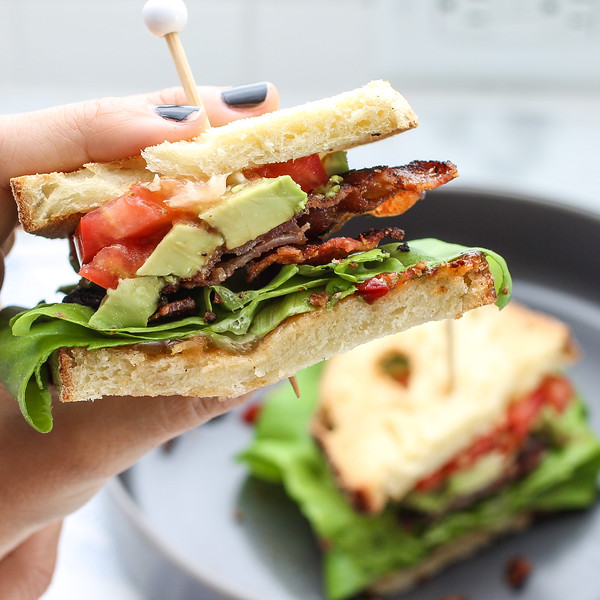
I feel like the BLT is easily overlooked. But every time I have one, I’m glad I did! I have The Ultimate BLT recipe that is beyond simple and packed with flavor! It’s loaded with crisp veggies, creamy avocado, and crispy salty bacon. There are, 

The Best and Easiest Refrigerator Dill Pickles

The Best and Easiest Refrigerator Dill Pickles

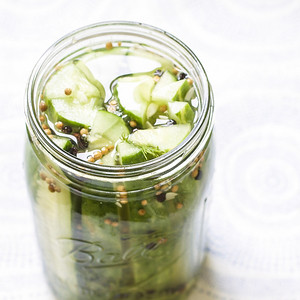
Look no further! I have solved all of your barbecue needs with the best and easiest refrigerator dill pickles on the planet! We have an overabundance of cucumbers growing in our back yard. I feel like I’m living in James and The Giant Peach, only in my story, I’m being overrun by cucumbers!

I’ve been giving them out to everyone and anyone who will accept them! Neighbors, friends, contractors. But, alas, they are ever growing. So what does one do with an overabundance of cucumbers, you ask? Well, one pickles them! So that’s exactly what I’ve done. And in doing so, I came up with the best and easiest refrigerator dill pickles recipe you’ll ever put your face on.

It actually is the best decision I ever made because our family literally eats an entire jar a day. I promise, you’ll never buy pickles again! And if you’re like our friend, Steve, you’ll even drink the jar of pickle juice when you’re finished!

Here’s How to Make Them

  • Start by warming up the water on the stove, just enough to melt the salt. Add the salt and whisk that until it’s good and combined. Let it cool while you cut the cucumbers.
  • Slice the top and bottom off of each cucumber. Then cut them into lengthwise spears (about 4-5 spears per half).
  • Back to the pickling liquid. Add in your vinegar, peppercorns, smashed garlic, dill, mustard seeds, & coriander seeds. Stir to combine.
  • Then pour your mixture into the mason jar.
  • Stuff as many cucumber spears into that bad boy as you can. The liquid will rise up to the top as you fill the jar.
  • Screw on the lid and place in the fridge for 2 days.

I might give out prizes for anyone who doesn’t eat the entire jar in one day! Enjoy xoxo.

The Best Refrigerator Dill Pickles

Servings 0

Equipment

  • 64 oz wide mouth mason jar

Ingredients
  

  • 1.5 cups water
  • 3 Tbsp white vinegar
  • 4 garlic cloves *smashed & skin removed
  • 1.5 Tbsp kosher salt
  • 1 Tbsp whole black peppercorns
  • 6 sprigs fresh dill
  • 1 tsp mustard seeds
  • 1 tsp coriander seeds
  • 2 cucumbers *ends removed & cut into spears

Instructions
 

  • Start by bringing your water to a simmer on the stove. Turn off the burner and whisk in the salt until completely melted. Let cool a bit.
  • Meanwhile, cut the ends off of each cucumber so they'll fit in your mason jar.
  • Slice into spears lengthwise (about 4-5 slices per half depending on the size of your cucumbers).
  • Add the remaining ingredients to the salted water and stir to combine.
  • Pour into a 64oz wide mouth mason jar (with lid).
  • Stuff as many of the cucumber spears into the jar and close the lid.
  • Refridgerate for 2 days before eating.
Tried this recipe?Let us know how it was!
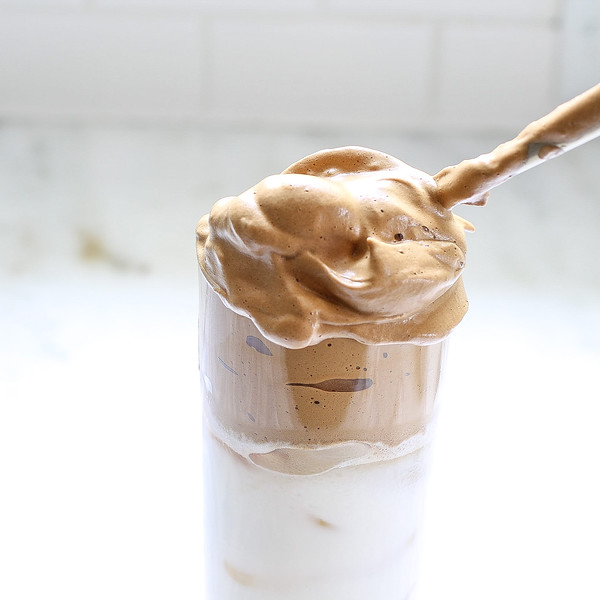
A Healthier Whipped Coffee

A Healthier Whipped Coffee

I would be remiss to not say anything at all about what’s happening in our world and pretend like our nation is hunky-dory. But the truth is, it’s not. Everywhere we turn, there seems to be more bad news in the media. And, regardless of